

I think I’ve made one million pans of lemon bars. I don’t know quite what it is about them but people who love them reallllly love them and request them often. I love them too except I can really only eat them sparingly after an incident we will just refer to as the back-of-the-car, leftover lemon bar binge of 2006. Not fun, my friends. Not fun.
They are easy to make but I’ve screwed them up enough to know that the most successful batches come from keeping a few important things in mind. Let’s call these…
The Three Basic Tenets of Lemon Bars
- Start with a solid foundation. The crust of a lemon bar is most often a shortbread like dough and in this recipe it’s a pat-in-the-pan deal. Use a pastry cutter or food processor to incorporate the butter into the flour and sugar. Use your fingertips to pat it in and, importantly, create a small lip up the edge to prevent leakage. Try and do all of this as quickly as possible, the warmth from your hands is an enemy to the crust and I have, on more than one occasion, neglected this rule and ended up with a warm mess of dough rather than the light and tender, flour-y mix that you want.
2. Keep them cold. This seems obvious but I’ve been to a few too many graduation parties where I spot a platter of lemon bars just absolutely dying. You know what I mean. No matter how delicious, no one wants to have to scoop out a weeping portion and eat it with a fork. Lemon bars are finger foods and all I ask is that they be able to support themselves from the plate to my mouth. The key is keeping them cold. If you’re transporting on a balmy day, that means placing the pan on ice in a cooler. I tend not to serve them buffet style (à la graduation party) for the very reason that I have to monitor them but, if you must, fill a disposable roasting pan with ice and set the lemon bar pan on top.
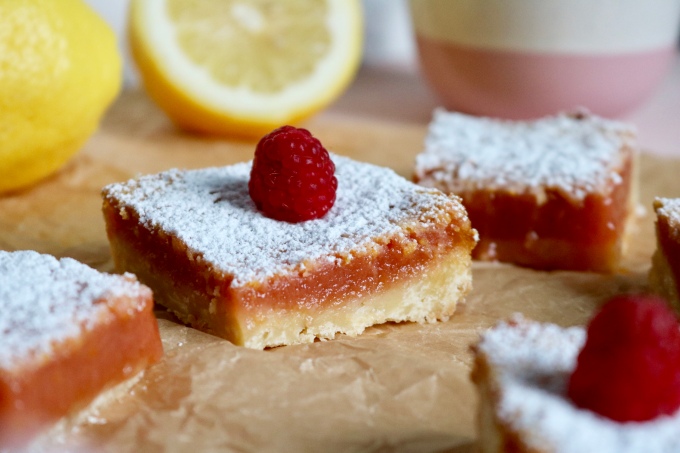
3. Don’t stack them. I know, I know, I did exactly that for the photos but I did it for the gram and only for the gram. In practical application, the bars underneath will be crushed and the bars on top will get sticky on the bottom and… just don’t. I know it’s not the prettiest but I actually think the best way to serve them is self-serve from the pan. If you want to dress it up go with a pretty Pyrex and if you must serve them on a platter–one layer please.
Raspberry Lemon Bars
Raspberry Lemon Bars
For the Crust
- 1 1/2 cups flour
- 1/4 cup powdered sugar
- 1/8 teaspoon salt
- 12 tablespoons unsalted butter, cold
Preheat oven to 350°. In a large bowl sift together flour, powdered sugar and salt. Use a pastry cutter to cut in the butter until it is the size of small peas. Finish by rubbing the mixture through your hands for a few moments until the dough is shaggy looking. (You can also do this whole step in a food processor if you prefer).
Pour mixture into the bottom of a 9×13 pan and gently press down on dough with your fingertips, working the dough up the sides of the pan a bit as well. Bake for 15-20 minutes, until the dough is just starting to take on a little golden color. Remove from oven and set aside to cool.
For the Filling
- 6 eggs, at room temp
- 3 cups sugar
- 2 tablespoons lemon zest
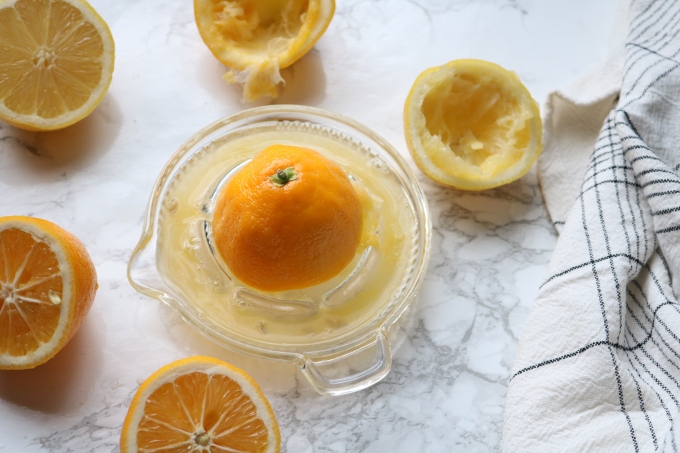
- 1 cup lemon juice (about 5 lemons)
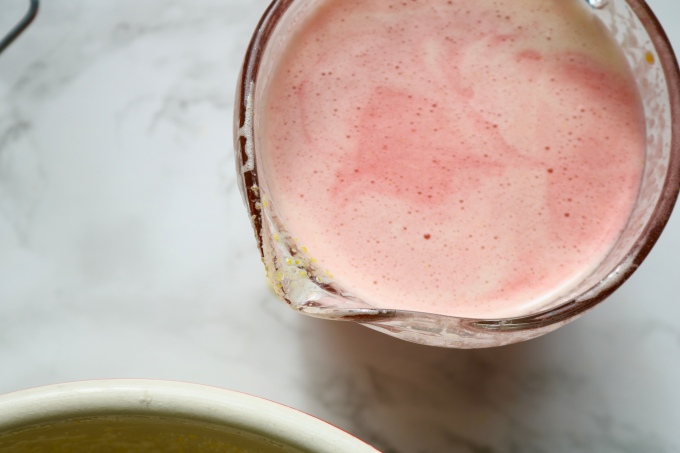
- 1/2 cup raspberry purée (about 2 pints fresh raspberries)
- 1 cup flour
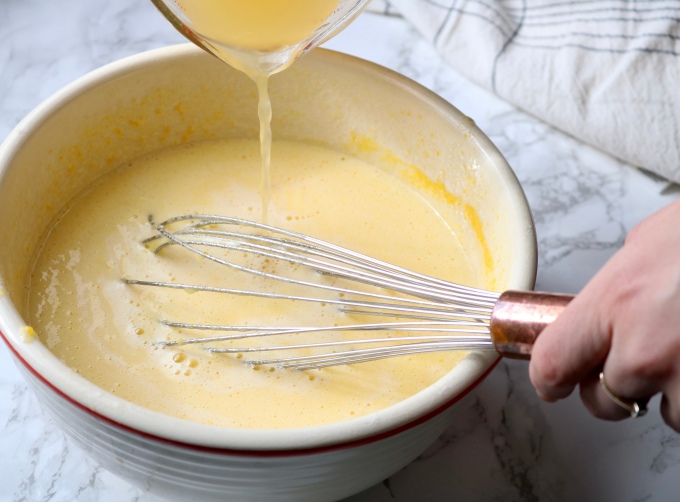
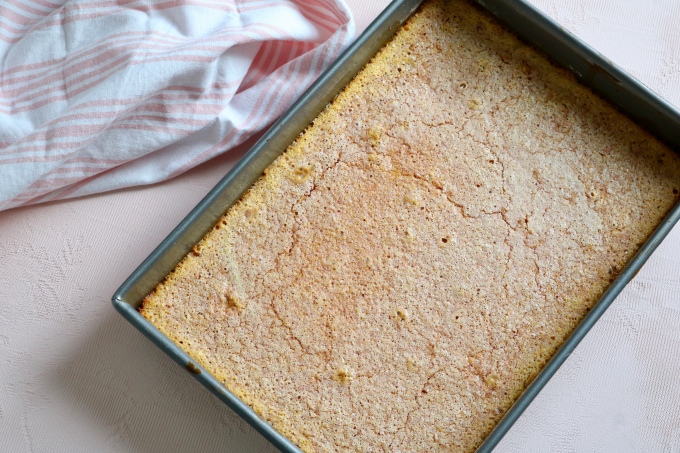
While the crust is cooling, place raspberries in a food processor and purée. Strain mixture through a mesh sieve to remove seeds. Measure out 1/2 cup of the seedless purée and set aside. In a large bowl, whisk together eggs and sugar. Add lemon juice and zest and combine thoroughly. Add raspberry purée and sift 1 cup flour over the top. Whisk to combine. Pour mixture into cooled crust. Bake at 350° for 30-35 minutes, until the center quivers only slightly when the pan is nudged. Remove from oven and let cool at room temperature. Refrigerate for at least several hours before slicing. Dust with extra powdered sugar before serving.
Recipe Adapted from The Joy of Cooking.

These look yummy! 💕
LikeLiked by 1 person
Thank You!! ( :
LikeLiked by 1 person
How am I just seeing all of your recipes?! I’m going to make these ASAP! 😁
LikeLike