

In theory, milkshakes seem like a really simple thing. File that under “Milkshake Theory”. In reality, they’re harder to make than I had anticipated. File that under “Stressful Situation”. They’re not hard to make, necessarily, but there was a little bit of a learning curve (learning curve means I had to make these four times). Because I’m not sharing with you a proper recipe (is four ingredients a recipe?), I thought I’d share with you my top tips for at-home milkshake making.
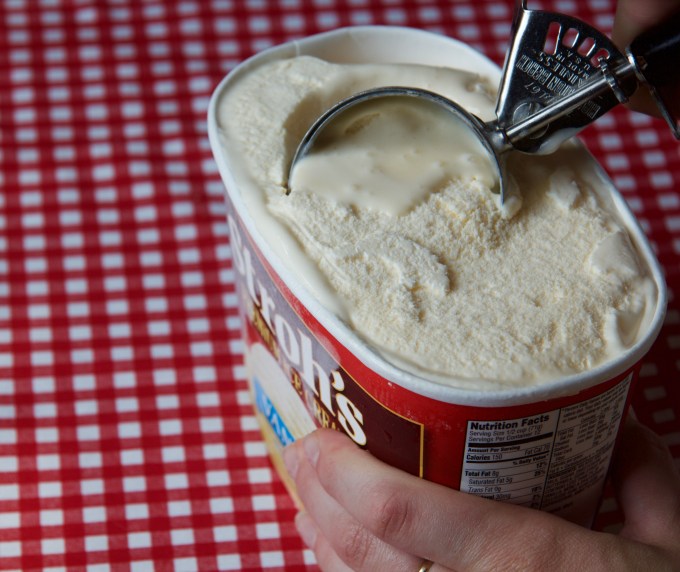
Tip #1: A good blender really helps but equally important is the ice cream consistency that you start out with. My milkshake research shows that allowing the ice cream to warm up a bit on the counter, to almost the consistency of soft serve, means the you won’t have to over blend it and in the process cause the ice cream to melt and the consistency to become too runny. Which leads me to…
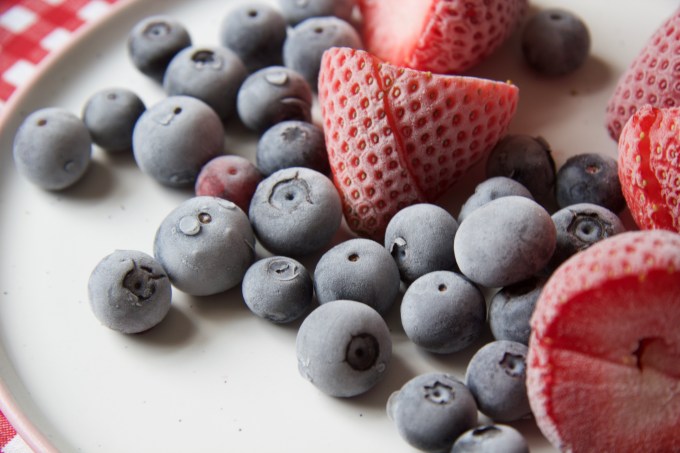
Tip #2: Temperature is everything. In addition to having the ice cream softened to start, it is essential (especially for this recipe because you have to work in batches) that everything be as cold as possible. If you can manage to prepare ahead, using frozen instead of fresh berries for the berry layers really helps to keep the liquid out and results in a thicker shake.
Tip #3: Freeze your bowls. When you are dividing the shake into the three parts, it helps to use bowls that are icy cold. Any flavor you are not currently working with should be in the freezer. Basically the freezer is your best friend.
Tip #4: You may be tempted to freeze the glasses too. Don’t! You won’t be able to see the layering through a frosted mug.
Tip #5: After all the flavors are mixed, leave them in the freezer for about thirty minutes. If you skip this step, you risk not being able to properly layer the shake as the liquid of the bottom layer will come up around the sides of the next layer and you will begin to question yourself and your sanity.
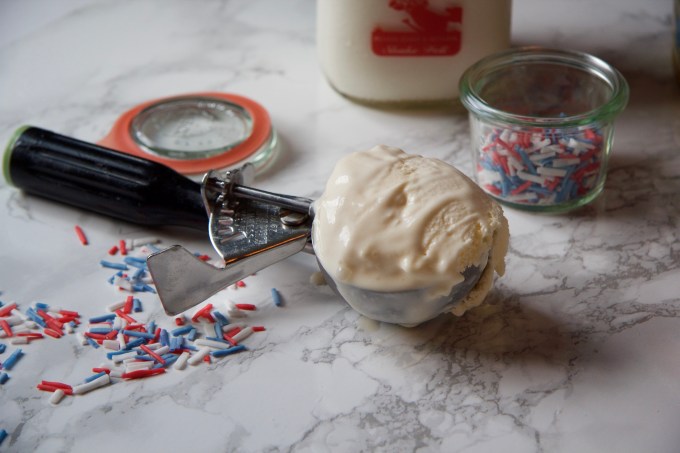
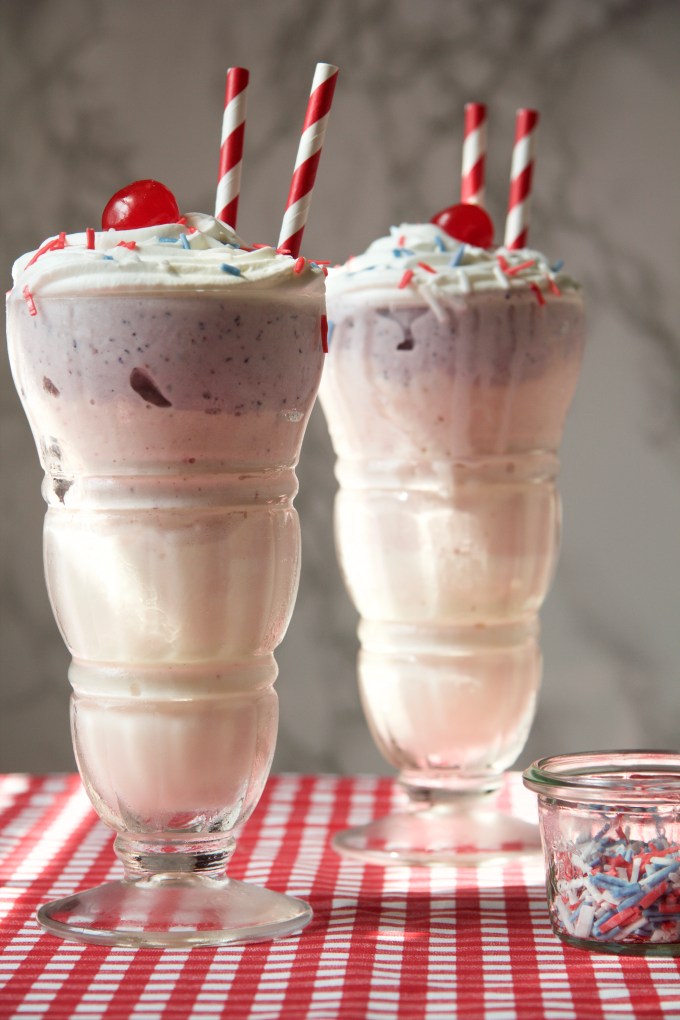
Tip #6: Layer smart. Do you remember in science class how they demonstrated the density of liquids in relation to one another with oil and water (me either, really). Anyway use that general principle here. I found my vanilla layer to be thickest (no berries=no added water) so that went on the bottom, then the strawberry, then the blueberry.
Follow these tips to milkshake heaven, and bring a friend with you. Milkshakes are always better with a friend.
Fourth of July Milkshakes
Milkshakes
- about 2 cups of vanilla ice cream, softened
- 1/4 cup milk
- 2 tablespoons blueberries, frozen
- 2 large or 4 small strawberries, frozen
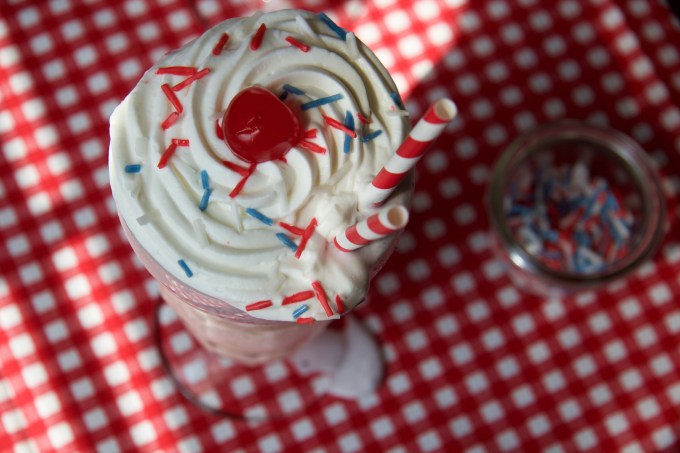
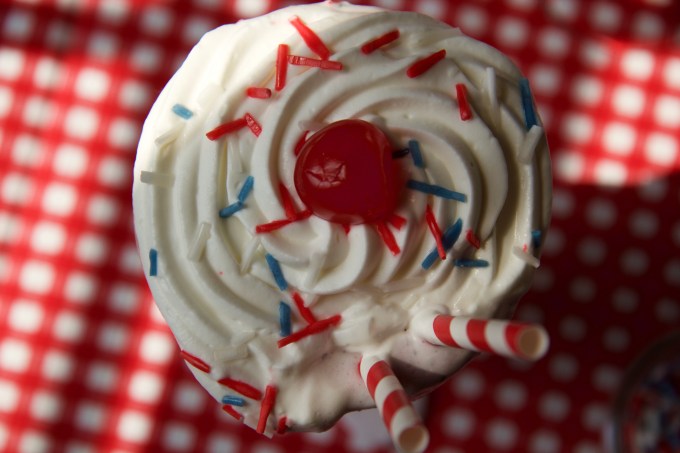
Place three small bowls in the freezer to chill. When ice cream is soft, blend together with milk. Divide shake evenly between the three frozen bowls (one will be strawberry, one blueberry and one vanilla). Put two of the bowls back in the freezer and put the contents of the other bowl back in the blender with the blueberries. Once smooth, pour back into bowl and place in freezer. Rinse blender. Take out another bowl and place in blender with strawberries. Once smooth, pour back into bowl and place in freezer. Leave bowls in the freezer for 30 minutes to firm back up. When ready to assemble, layer vanilla on the bottom (it will be the thickest) and then strawberry and blueberry layers. Top with whipped cream, sprinkles, and cherry if desired.
Whipped Cream (for one milkshake, adjust accordingly)
- 1/4 cup heavy cream
- 1 tablespoon powdered sugar
Whip cream and powdered sugar together in the bowl of an electric mixer fitted with a whisk attachment until thick and fluffy. Pipe onto top of milkshake.
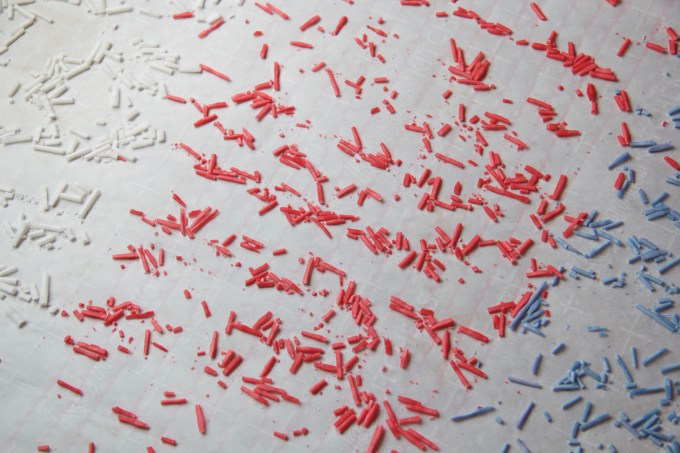
Homemade Sprinkles
I used this recipe for Homemade Sprinkles from Martha Stewart and a #4 Wilton tip.

Thank you for those tips. I can’t wait for my next cheat day, to try this!
LikeLike
( : Good Luck!!
LikeLiked by 1 person